

Guides
How to line a baking tray
Use silicone-coated butter paper, rated to 230 °C. Cut the sheet to the base of the tray, let a little run up the sides, and your bake lifts off with no greasing.
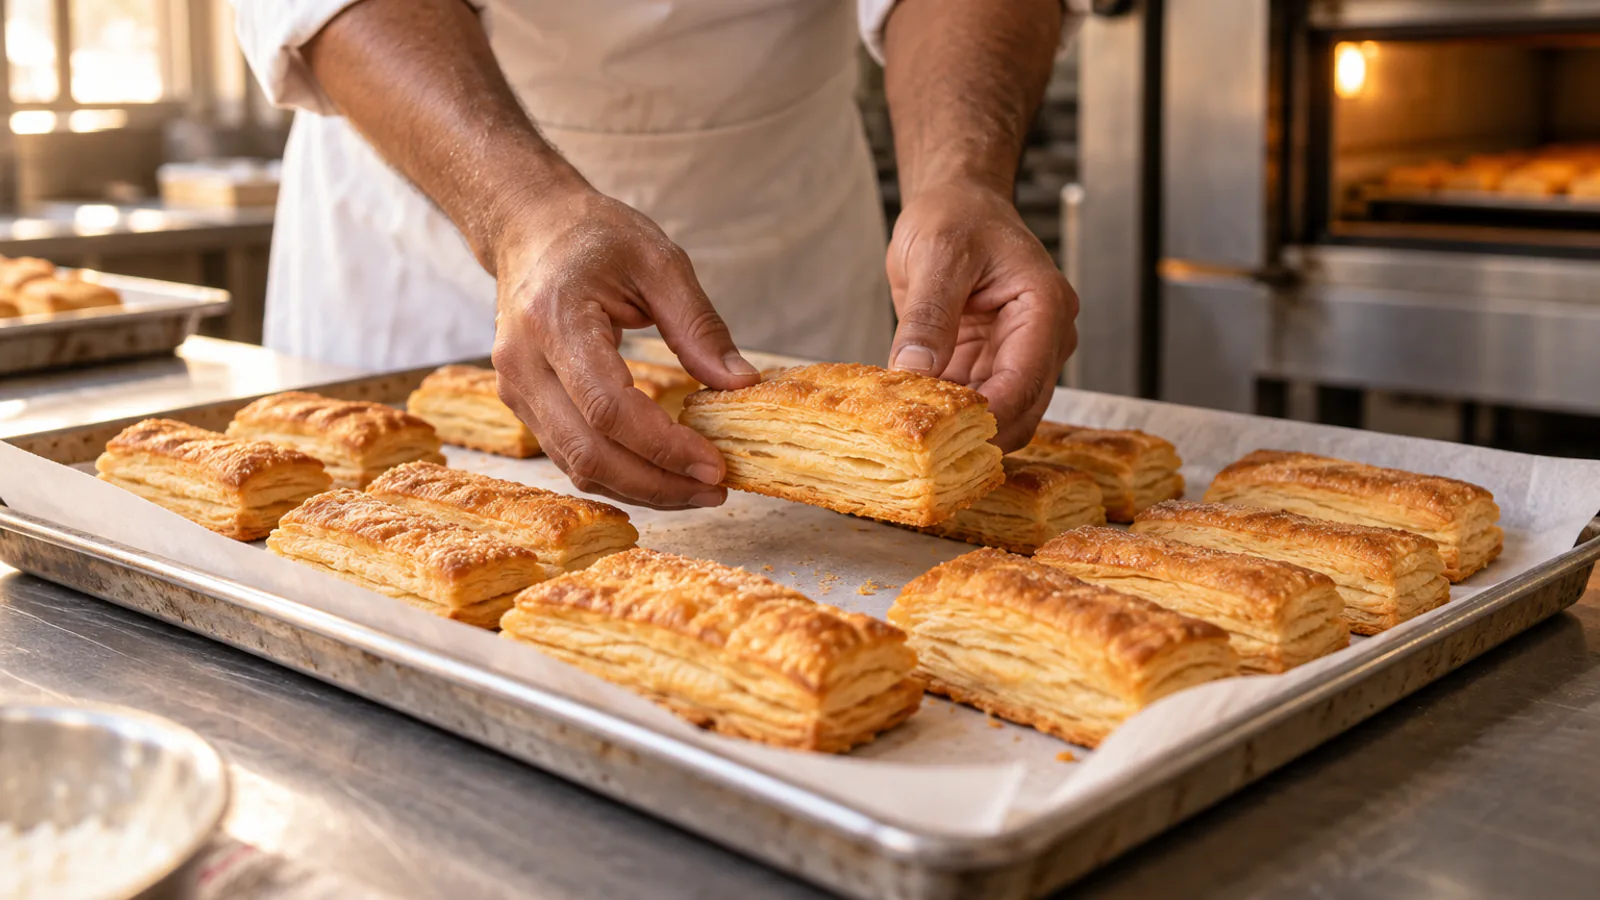
01 / Type
Pick the oven type first
Butter paper comes in three types. Only the silicone-coated type carries an oven rating from us: 230 °C. We make no oven claim for vegetable parchment or greaseproof uncoated.
Check the temperature in your recipe. Up to 230 °C, silicone-coated butter paper covers the bake, in a home oven or an OTG. Above 230 °C, we make no claim.
02 / Tray
How to line a rectangular baking tray
Measure the tray base.
Measure the inside length and width of the base.
Cut the sheet.
Cut butter paper to the base size, plus about 2 cm on each side to run up the walls.
Snip the corners.
Make a short cut at each corner, so the paper folds up the walls and lies flat on the base.
Press the paper in.
Press the sheet into the tray. A dab of batter or butter under the corners holds the sheet still.
Bake and lift.
Bake as usual. Lift the bake out by the paper edges once cool enough to handle.
03 / Cake tin
Lining a round cake tin
Stand the tin on butter paper, trace around the base and cut the circle a little inside the line. The circle sits flat on the base.
For the sides, cut a strip as long as the tin's circumference and about 2 cm taller than the tin. Fold up 1 cm along one long edge, snip the fold every few centimetres, and stand the strip inside the tin with the snipped edge on the base. Lay the circle on top.
04 / Loaf tin
Lining a loaf tin
Cut one strip as wide as the base of the tin and long enough to run up both long sides with a few centimetres spare at each end.
Lay the strip in the tin. The spare ends become handles, so you lift the loaf out in one piece.
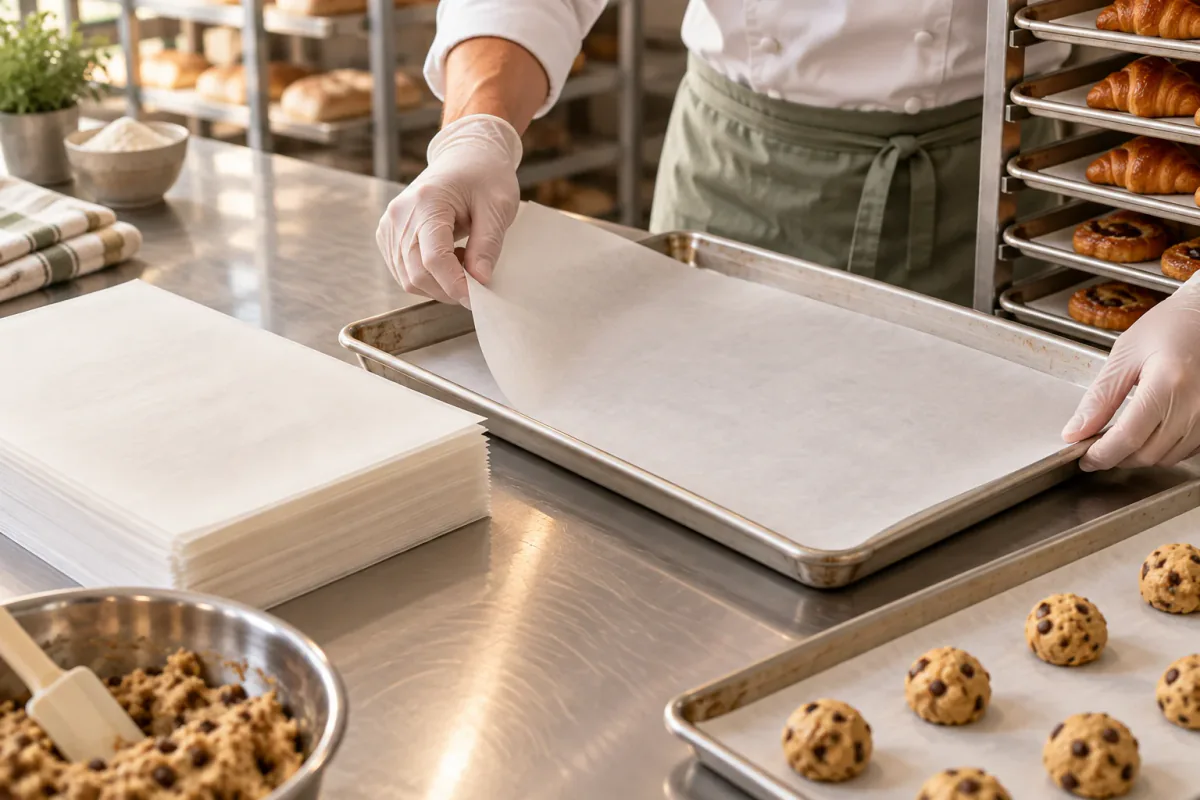
05 / Cookies
Cookies and biscuits
Lay a flat sheet on the tray with no folds. Cookies spread on the flat sheet and lift off cleanly once cool.
Kitchens often reuse a sheet across batches of dry bakes. Your kitchen makes this call. We make no reuse claim.
06 / Pizza
Pizza on butter paper
Shape the base on a sheet of silicone-coated butter paper and slide the base and sheet onto the tray together.
Check the oven setting first. Our rating stops at 230 °C. For a hotter pizza oven, bake on the stone or tray with no paper.
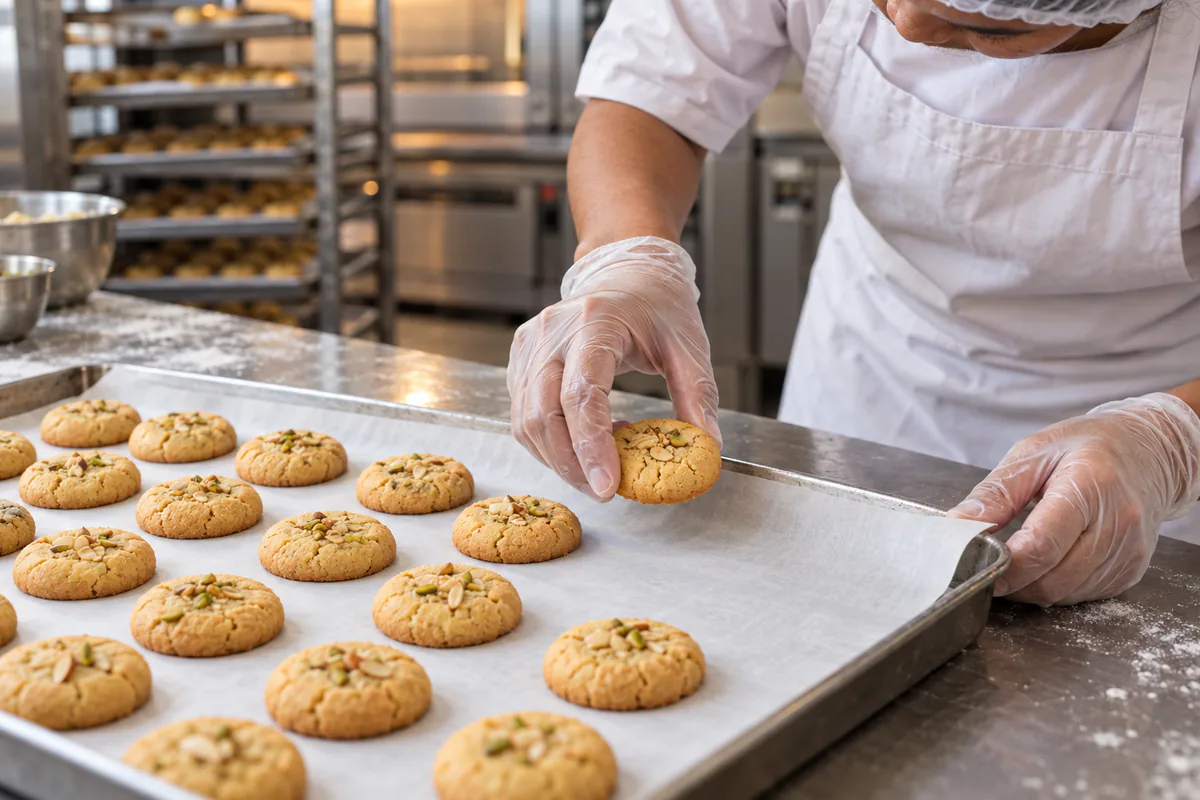
07 / Sizes
Matching paper to your trays
Our pre-cut sheets come in 300×400, 380×500, 450×600 and 500×700 mm. Pick the size closest to your tray base plus the overhang. For bulk orders, we quote custom sizes to your tray.
Our rolls come in widths of 300, 380, 450, 600, 900 and 1,200 mm. Match the roll to your widest common tray and cut down from there.
A home kitchen buys a retail roll of 25 to 100 m. A bakery lining trays all day buys bulk reels of 500 to 2,000 m or cartons of pre-cut sheets.
Questions
Before you specify
Is butter paper safe for baking a cake?
Use the silicone-coated type, rated to 230 °C. We make no oven claim for vegetable parchment or greaseproof uncoated.
How big a sheet does a tray need?
The tray base plus about 2 cm on each side. Pick the nearest of our four sheet sizes, or cut from a roll.
Do I grease the tray under butter paper?
No greasing is needed for release. A dab of batter under the corners only holds the sheet in place.